* Already made prints (papers)? Then you can continue with the manual below:
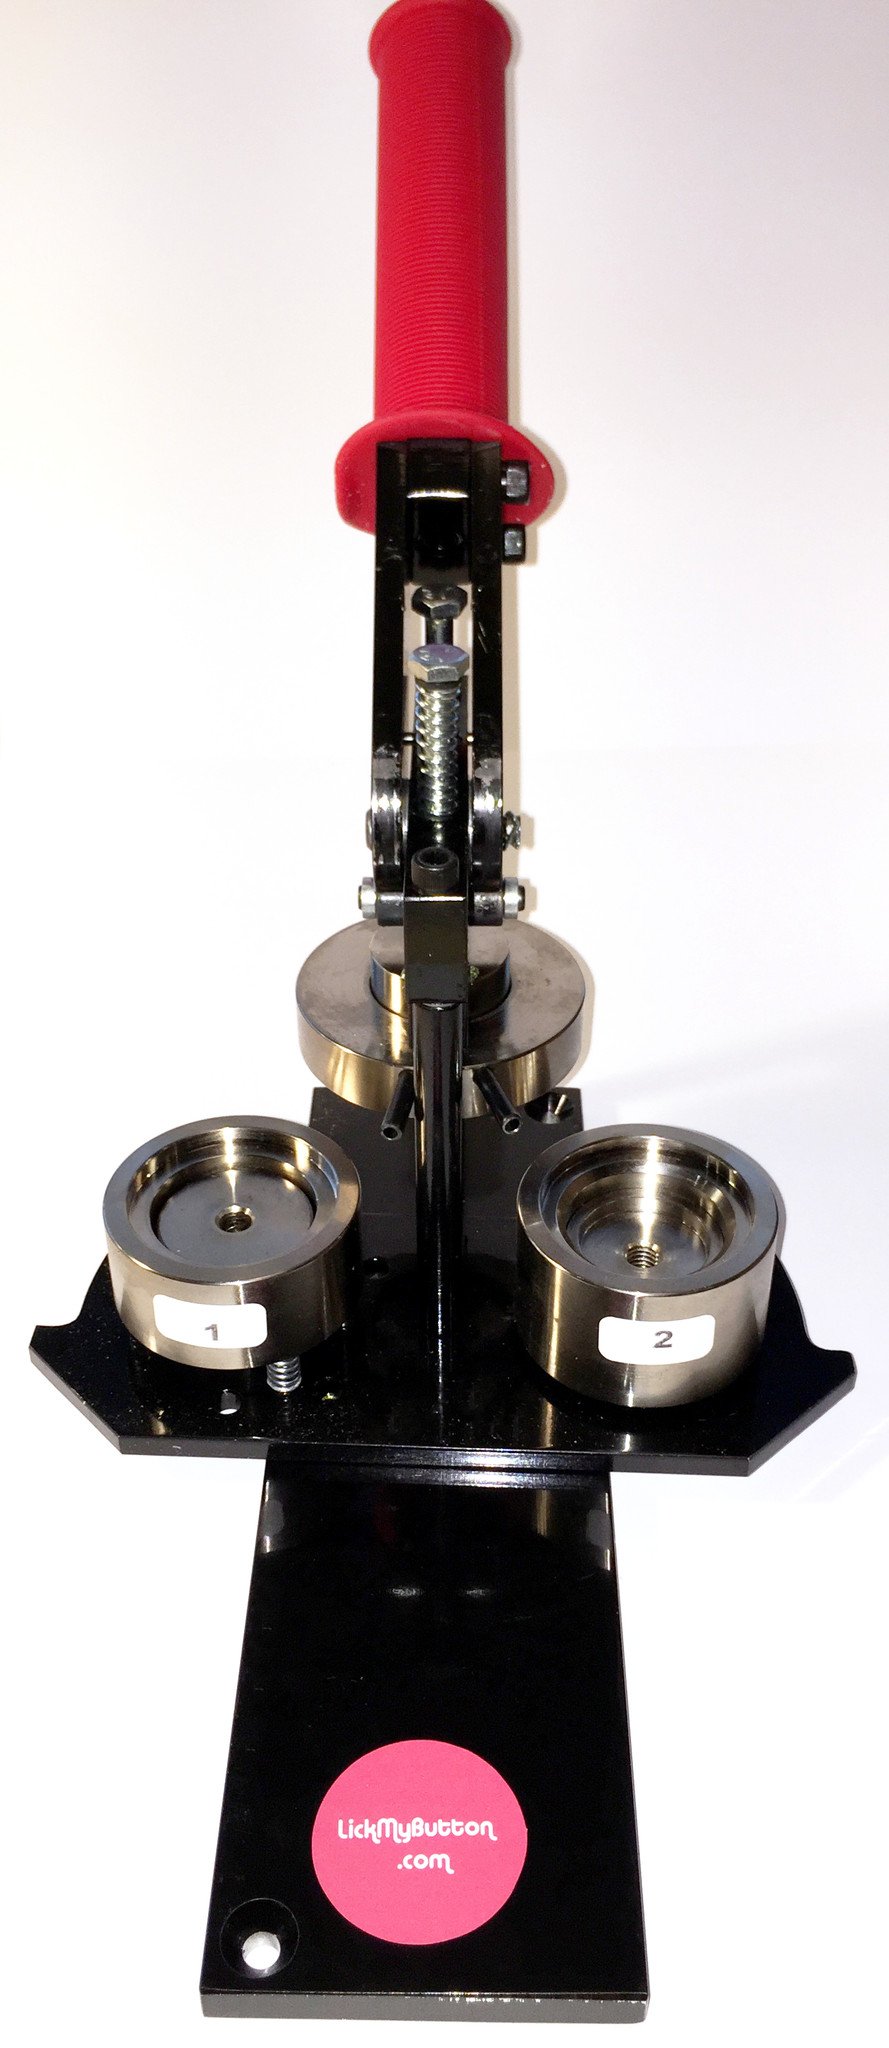
With these devices you can make all types of buttons in 2 presses.
To start, raise the red lever. This way the base with the bottom 2 molds (1,2) can be
turn. Please note: With a newly greased appliance, this base may be somewhat stuck to the base plate.
Then grab the mold and pull it upwards very evenly. The base then comes loose from the base plate a little later.
* STEP 1: Construction of the front (mould 1)
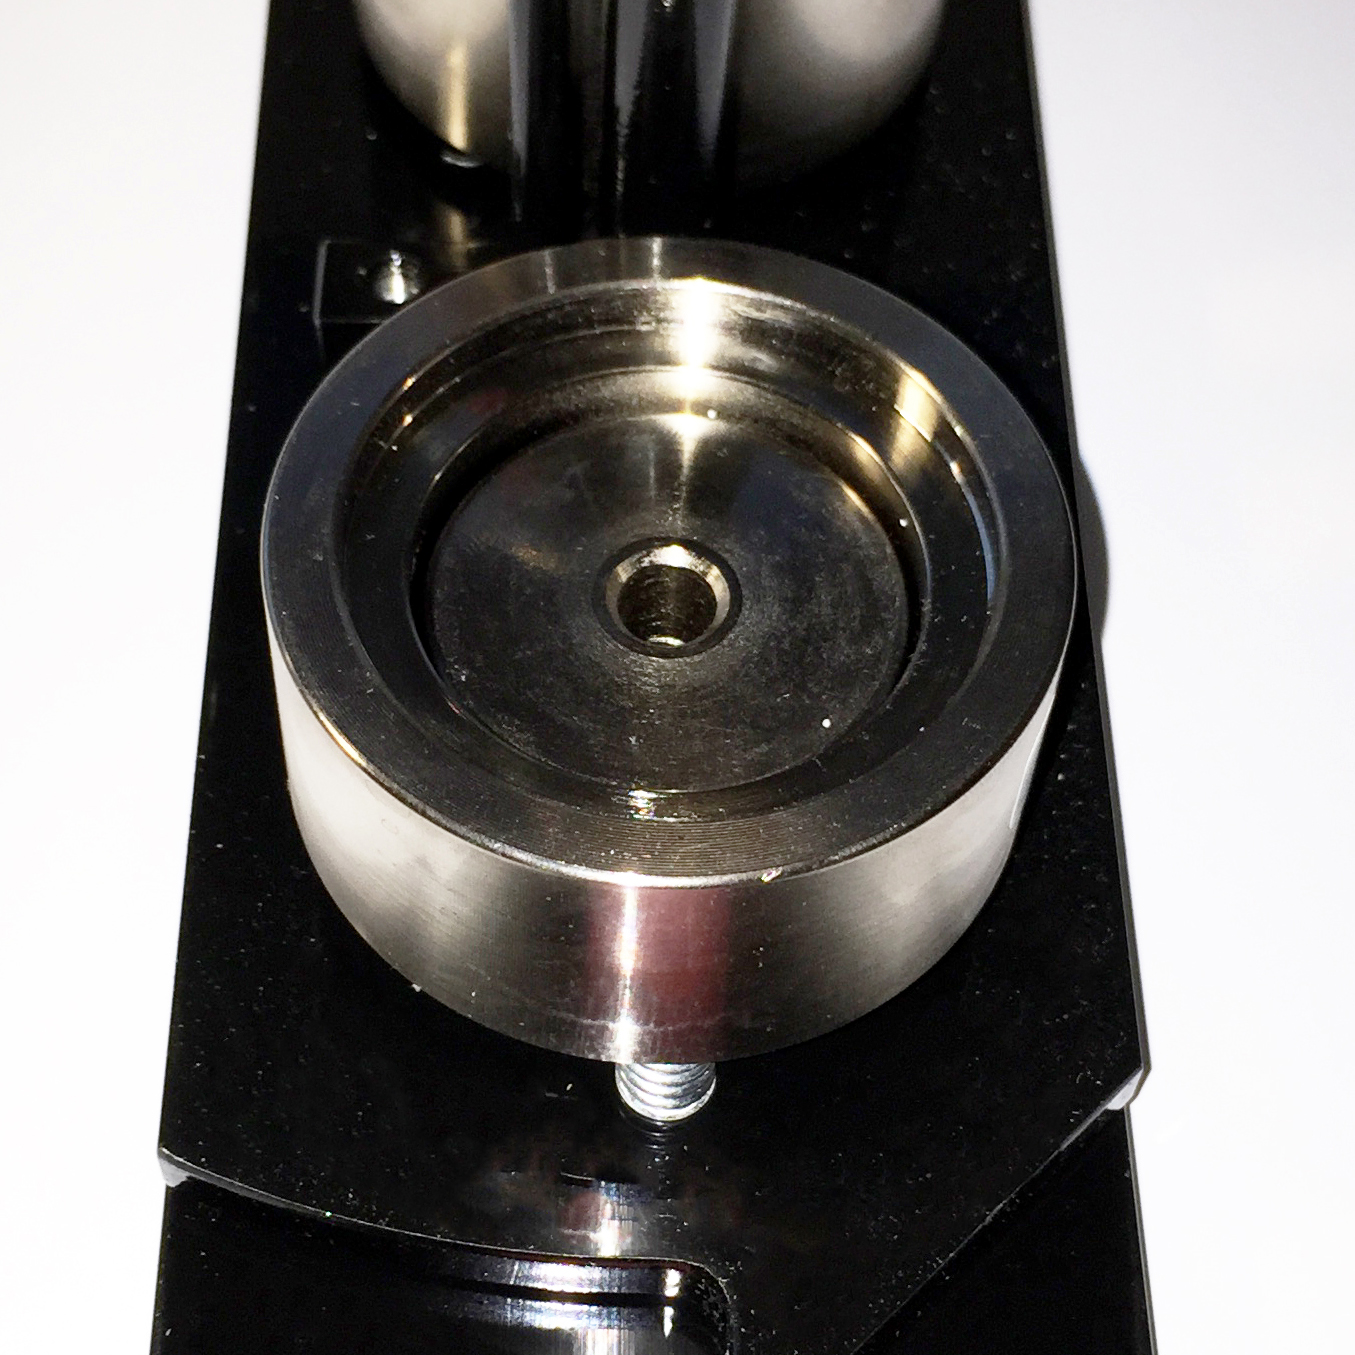
Here you place all the parts of the front:
- Convex can front (with the sharp side down, convex up)
- Cut piece of paper (with text or image horizontally in front of you)
- Plastic folie (Mylar)
Turn die 1 under the pusher (hanging die) and press the red lever all the way down
in one calm, even movement. Then move the red lever back up. The parts
remain in the top snap. Matrix 2 is now facing you.
(The button front (and structure) is always the same for pin, magnet, key ring, mirror, opener, flatback, ...)
* STEP 2: Construction of the rear (mould 2)
Here are all the parts for the back (see further: Structure variants) in.
When mold 2 is filled, turn it back under the printer. Press the lever all the way down again with a gentle, even movement. This way you press all the parts together. Pull the lever back up and your button is ready!
About work faster Leave the finished button in mold 2 for a while.
After all, matrix 1 is facing you. So immediately put parts back in, turn and press (= step 1).
Then take out the finished button and immediately complete step 2.

Construction variants (step 2)
Pins, magnets, key rings, openers, mirrors, flatbacks, ...
You always place the visible side of all these backs facing downwards in the mold.
-
Pin: Place the pin back with the pin side facing down. To get the image straight on the pin, place the pin horizontally with the rectangle to the right and the circle to the left. This way the button will open in the right direction afterwards.
-
Pin 25mm (1 inch): Place the ring with the flat side down and the raised sharp edge up. Press everything together, then the pin still needs to be inserted. Everyone has their own technique for inserting the pins smoothly. The most important thing is not to bend the pin. Then the tension will be released and it will be loose behind the ring. Our way is to hold the pin so that the half arc is to the right and closed at the bottom. First insert the side that is furthest away from you under the ring in the button. Then place your thumb on the right button so that the right arc of the pin cannot come outside the ring of the button after the next step. With your other thumb, simply gently push the bottom corner just behind the ring. The pin will then pop perfectly into place.
-
Magnet: Place the magnet back with the flat side facing downwards. The raised edges face upwards.
-
Magnet (self-adhesive) (75mm): Place the flat back side down, raised edge up. Press the whole thing together. Afterwards, attach the self-adhesive magnet centrally. It is also possible to stick these self-adhesive backs in advance and then incorporate the whole into the device.
-
Keychains 32 / 38mm: Place the ring (or tin plate with recess) with the raised edge upwards. The flatter side faces downwards. Now you are already pressing these parts together. Afterwards, insert the black plastic element (versa-back) into the back. Twist it a little so that all the barbs are snugly behind the edges. Finally, click the key ring part on the black eye. Finished!
-
Keychains 44 / 56mm: Place the flat back side down, raised edge up. Press the whole thing together. Afterwards, insert the 'snake chain' with barb into the provided slot on the back.
-
Opener: Place the opener with the convex side (which says 'bottle opener') facing downwards. After pressing the parts together, you can still attach the split ring through the 2 holes provided.
-
Magnetic opener: Place the magnetic opener in the mold with the flat side and the magnet facing downwards.
-
Spiegel: Place the ring in the mold with the raised, sharp side up. Place the mirror in that ring with the mirror side facing down. Finally, place the cardboard centrally on the mirror. This ensures that the mirrors sit firmly and do not rattle.
-
Flatback: First place the 'insert' (flat metal plate with a groove on the side) in mold 2. The flat side without a groove faces downwards. Then you place the black plastic flatback on top. Press the whole thing together. The insert always remains in the mold. Finally, you can place this button in mold 1 again and press it for an extra flat closed result.
Tips:
* Paper: use quality printer paper from 90 to 120g. Heavier paper is possible, but cutting and making buttons becomes heavier, the edges of the buttons also become somewhat rougher because more material is compressed in the same place.
* Be careful of duplicate parts. Tin fronts and rings in particular tend to collapse. Drop them on the table and they often pop loose.
* Foil: Try to leave the foil in the packaging as much as possible. Leave what you use in a nice pile as much as possible. This way, the foil attracts as little dirt and dust as possible.
Download this button machine manual in PDF format here. (Dutch)
Download this button machine manual in PDF format here. (Engels)